
Installation & First Run
System Requirements
Section titled “System Requirements”Operating Systems:
- Windows 10 or later (64-bit)
- macOS 11 (Big Sur) or later (universal binary; Intel and Apple Silicon)
- Linux (x86_64 with modern desktop environment)
Minimum Hardware:
- 4 GB RAM
- 500 MB available disk space
- Display resolution 1280×720 or higher
- Audio output device
Recommended:
- 8 GB RAM or more for large projects
- SSD for fast clip loading
- 1920×1080 or higher display
- Multi-core CPU for vocal removal processing
Installation
Section titled “Installation”Windows:
Download the installer from the Fetch website.
Run the .msi installer.
Follow the installation wizard prompts.
Launch from Start Menu: Fetch | Callie Grams.
macOS:
Download the .dmg disk image.
Open the disk image.
Drag Callie Grams to Applications folder.
Launch from Applications or Spotlight.
On first launch, macOS may require you to allow the app in System Preferences → Security & Privacy.
Run Callie Grams from Applications. If you launch Callie Grams from outside the Applications folder (for example straight from the disk image or Downloads), Callie Grams will prompt you to move it, and software updates are skipped until it lives in Applications.
macOS also gives Callie Grams a native menu bar (in the screen’s title bar) with the same menus as the in-app menu bar.
If you plan to use the Clip Recorder, macOS will ask for Microphone permission the first time — approve it so recording has an input.
Linux:
Download the appropriate package (.deb for Debian/Ubuntu, .rpm for Fedora/RHEL, or .AppImage for universal).
Debian/Ubuntu:
sudo dpkg -i callie_*.debsudo apt-get install -fFedora/RHEL:
sudo rpm -i callie-*.rpmAppImage:
chmod +x Callie-*.AppImage./Callie-*.AppImageLaunch from the application menu or terminal: fetch-callie
First Launch
Section titled “First Launch”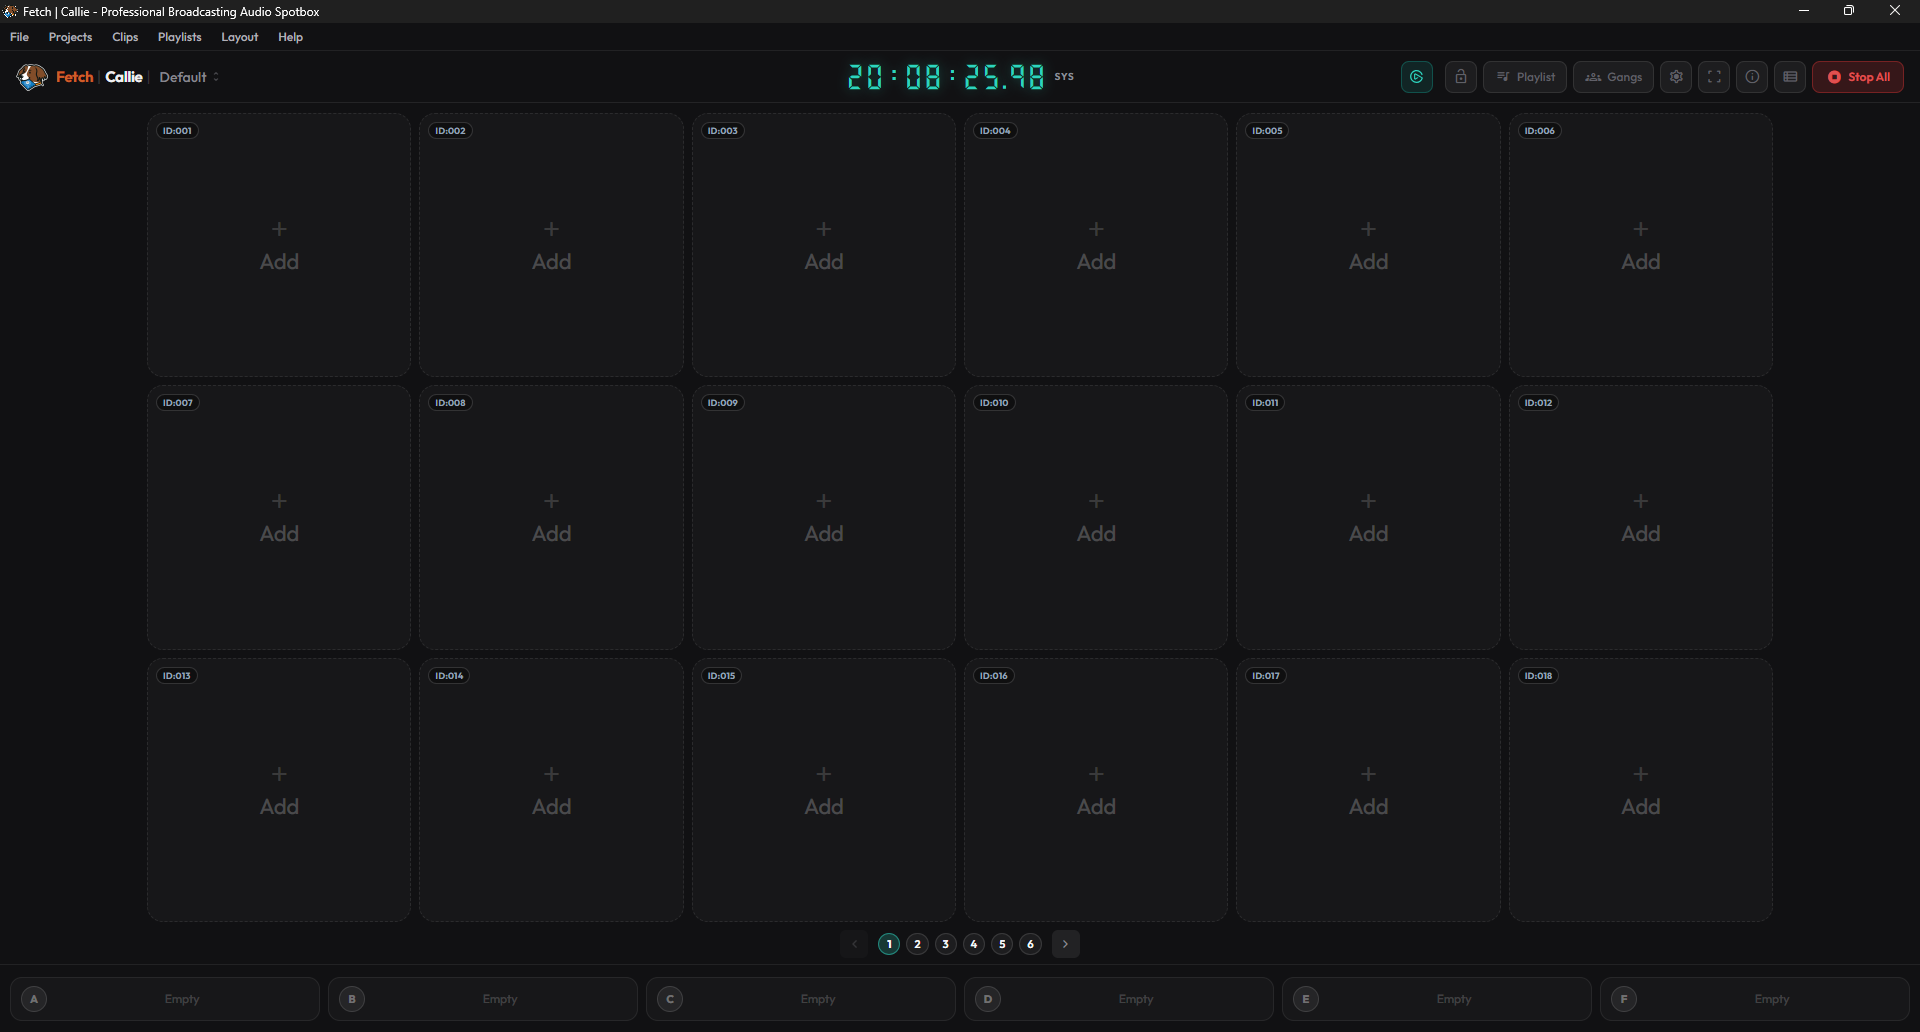
When you first open Callie Grams, you’ll see:
- The menu bar at the top (File, Projects, Clips, Playlists, View, Layout, Help)
- The header bar below it (project name, timecode, Stream Deck status, Stop All)
- An empty clip grid in the centre
- Page navigation at the bottom of the grid when there are multiple pages
The default play mode is Default, so clips will play on Output A unless you assign them to a different output.
Initial Setup
Section titled “Initial Setup”Set your Global Output Device:
Menu → File → Preferences → Audio → Global Output Device
Choose the headphones or speakers you want to use for previewing clips. This is always a system audio device (never ASIO).
Route outputs (optional):
If you need different outputs to go to different soundcards, use Per-Output Routing below the Global Output Device. Leave each output on Follow global to use the Global Output Device. On Windows you can also switch the Driver Type to ASIO and route each output to a stereo pair on an ASIO device.
Choose a play mode:
Menu → File → Preferences → Play Mode
- Start with Single Output for the simplest experience.
- Switch to Default when you need independent control over multiple outputs — or when you want unassigned clips distributed to free outputs automatically.
Add your first clip:
- Right-click an empty button and choose Add Clip, then choose a file.
- Click the button to play it.
Test triggering:
- Click the clip with your mouse.
- Press the shortcut key shown on the button (if assigned).