Quick Start - TLDR
Just want to dive in? Here’s the 60-second version.
The Basics
Section titled “The Basics”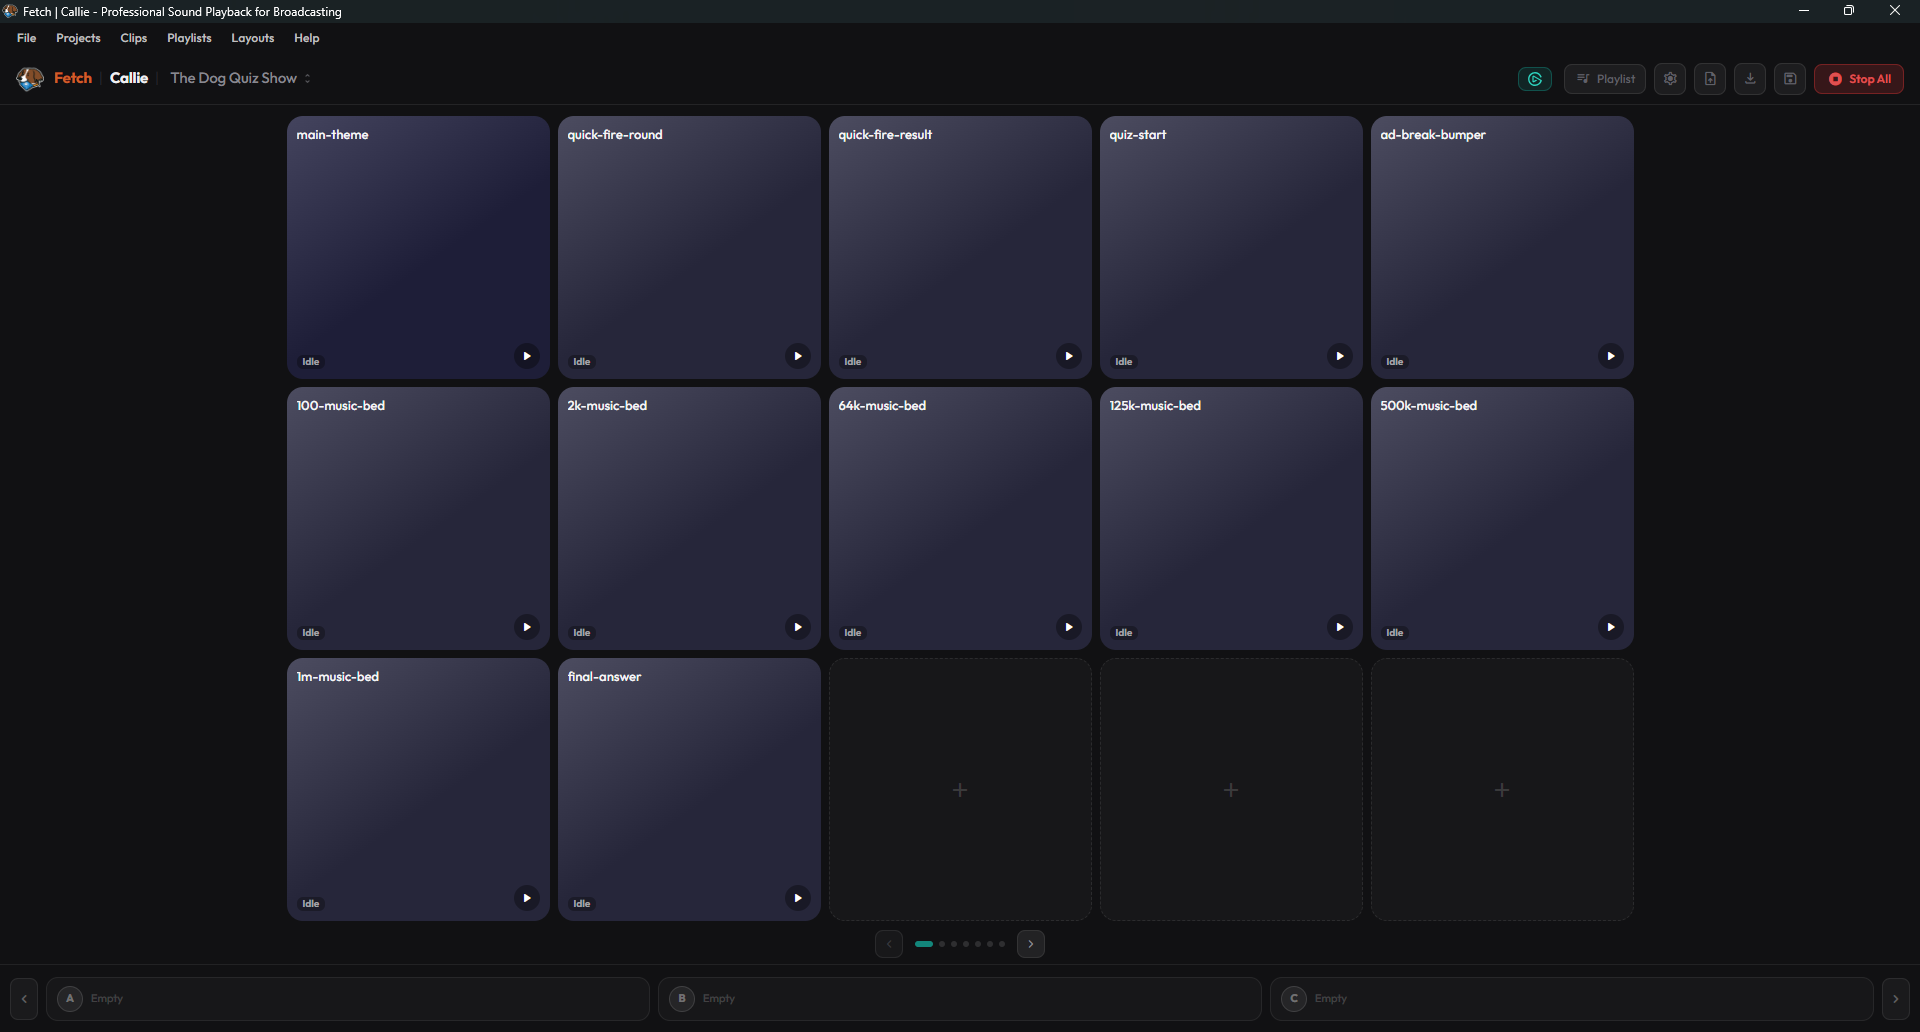
-
Install it — Grab the installer from fetchmedia.tools, run it, done.
-
Launch it — You’ll see an empty clip grid, the header bar at the top, and the menu bar above it.
-
Add a clip — Right-click an empty button and choose Add Clip, then choose a file.
-
Choose a play mode — Open Preferences → Play Mode and pick Default or Single Output.
- Single Output is the simplest: everything goes to Output A.
- Default lets you patch each clip to its own output — unassigned clips are distributed to free outputs automatically.
-
Set the output — Right-click the clip and select from the quick menu (or right-click → Clip Settings) and choose an output letter. In Single Output mode this is automatic.
-
Trigger it — Click the clip, press its keyboard shortcut, or hit the matching Stream Deck key.
-
Stop it — Click the clip again, press its shortcut, or press the Stop All button.
-
Save your project — Menu → File → Save.
What You Should Know
Section titled “What You Should Know”Play Modes:
Callie Grams has two global play modes that control how clips are routed to outputs:
- Default — assigned clips route to their output; unassigned clips auto-distribute to the first free output. Enable Require output assignment in Preferences if you want unassigned clips blocked instead.
- Single Output — every clip routes to Output A.
Quick Fire:
Enable this on a clip to layer new instances every time you punch it. Great for repeated sound effects.
Retrigger Mode:
Controls what happens when you trigger a clip that is already playing:
- Play / Stop (default) — stop on second press, play again from the top on the next.
- Pause / Resume — pause on second press, resume on third.
- Restart — stop the current instance and start fresh.
- Ignore — do nothing if the clip is already playing.
Fade In / Fade Out:
Set per-clip fade times to avoid clicks and harsh starts.
Loop Blocks:
Use the clip editor to loop a section and choose what happens when you press stop: Continue, Crash Stop, Stop in Loop, Jump to Marker, Jump & Pause to Marker, or Jump to Loop.
Common First-Timer Gotchas
Section titled “Common First-Timer Gotchas”- “I don’t hear anything” — Check Preferences → Audio → Global Output Device. Make sure your headphones or speakers are selected.
- “My clip cuts off early” — Check the OUT marker and fade-out time in Clip Settings → Editor.
- “I triggered it twice and nothing happened” — Check Retrigger Mode. If it’s set to Ignore, the second trigger is ignored.
- “It won’t play because no output is assigned” — You’ve enabled Require output assignment in Default mode. Either assign an output in Clip Settings or turn that option off.
- “Stream Deck isn’t working” — Connect the Stream Deck before launching Callie Grams. Elgato Stream Deck Companion (and other apps that claim the device) will prevent Callie Grams from using it. Callie Grams shows an alert in the UI if another application is blocking the Stream Deck. Close competing apps and restart Callie Grams.
Five Minute Workflow
Section titled “Five Minute Workflow”If you’ve used a soundboard before, you’ll be productive in five minutes:
- Set your Global Output Device in Preferences.
- Pick a play mode (start with Single Output).
- Add in some audio files.
- Set fade times and retrigger mode.
- Trigger clips with mouse, keyboard, or Stream Deck.
- Save the project.
For the details, keep reading. For now, just install it and click around — we’ve kept it simple for a reason.