Getting Started
Creating Your First Configuration
Section titled “Creating Your First Configuration”New configurations start with a blank slate - nothing added yet.
Here’s how most people work:
- Add your audio sources (what you’re routing from)
- Add your video destinations (where the audio embeds)
- Assign audio to video with drag and drop
- Run Routing Check to catch any gaps
- Save your configuration
- Export documentation for the crew
You don’t have to follow this order exactly, but it’s a sensible flow.
Understanding the Interface
Section titled “Understanding the Interface”Main Window Structure:
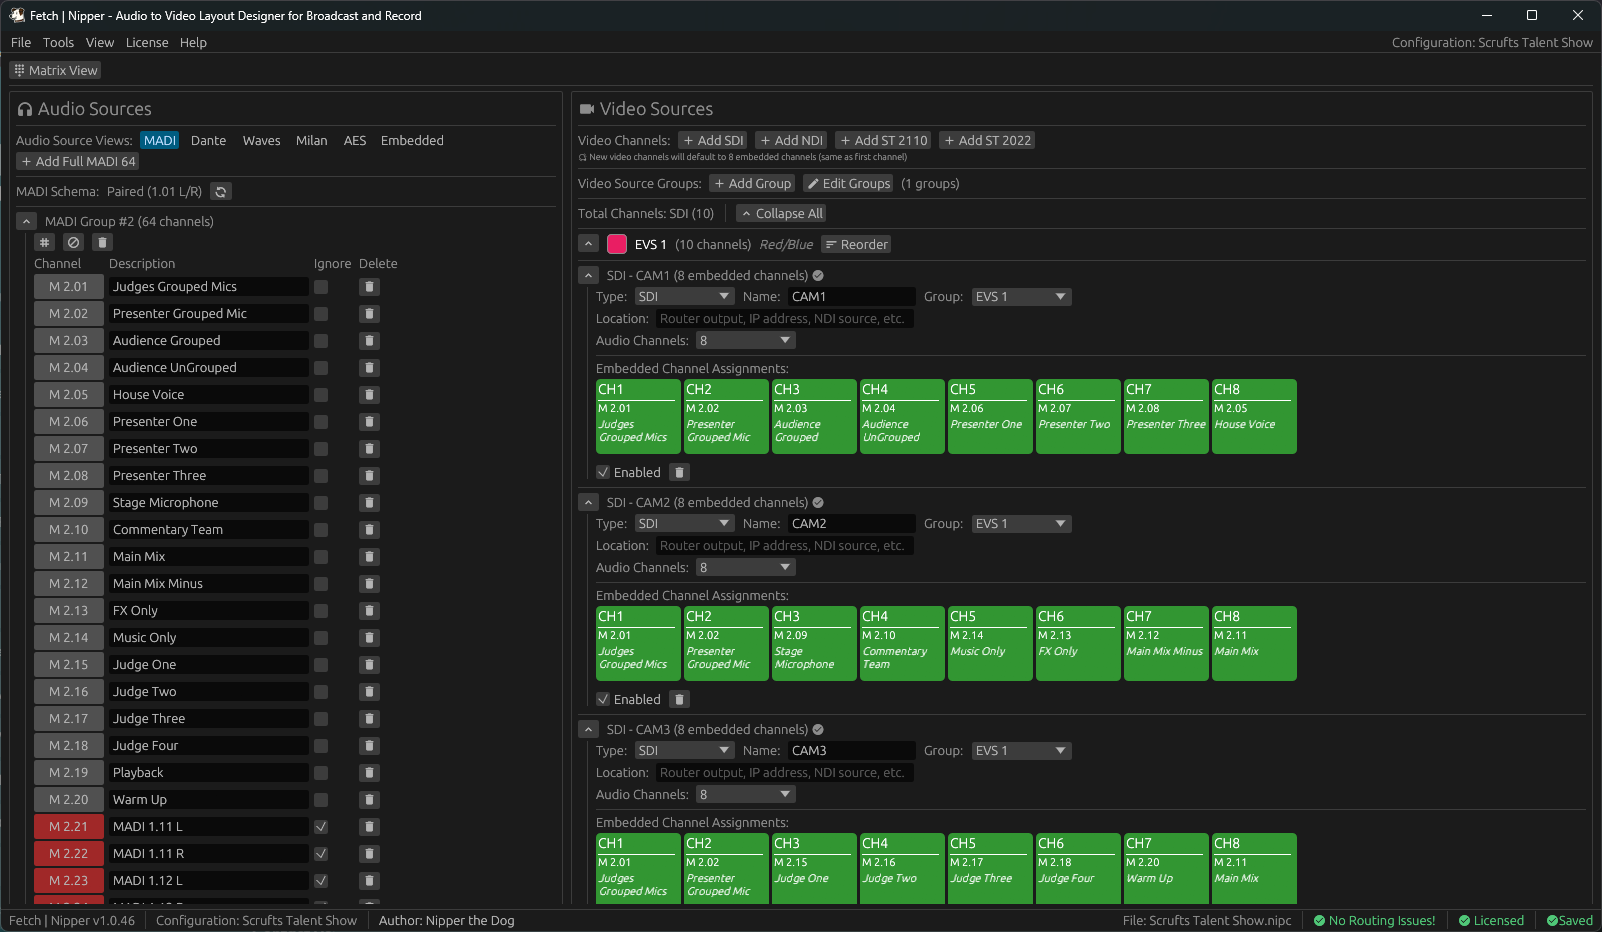
Left Panel — Audio Sources: This displays all your available audio sources, organized by type (MADI, Dante, AES, etc.). Each button represents an individual audio channel, color-coded by source type and grouped by major number (audio group ID).
Right Panel — Video Destinations: Here you’ll see all your video sources (SDI, NDI, IP). Each video source has embedded audio channel slots - empty ones are waiting for audio assignment, while assigned slots show the audio source label. Everything is organized by video groups, which you can collapse to reduce clutter.
Top Menu Bar: The menu bar gives you access to file operations (New, Open, Save, Save As, Rename, Edit Author), tools (Routing Check, Buzz Out), view options (Matrix View, Light/Dark Mode), exports (CSV, JSON, Excel, HTML, PDF), license management, and help.
Bottom Status Bar: On the left you’ll see your configuration name and file path. The centre shows your Routing Check summary (⚠ X issues found), and on the right you’ll see your license status (✓ Licensed / ⚠ Unlicensed).
Navigation
Section titled “Navigation”Scrolling: Both panels scroll independently. Use your mouse wheel or trackpad gestures, and scroll bars appear when content exceeds the viewport.
Groups: Click any group header to collapse or expand it. When groups are collapsed, they show a member count, which is useful for focusing on specific sections.